As a former Pre-Kindergarten teacher and now stay-at-home mommy of 2 boys and a sweet baby girl, many people ask me how they can be implementing educational concepts in the lives of their young children at home before they enter school. Instead of trying to come up with a quick list of ideas off the top of my head to answer these questions, I have decided to put all of my lessons into this blog. I, along with so many other parents, want to be purposeful at home with my children and make the most of the time I have with them.
I hope that this blog can help, encourage, and inspire you to work with your kiddos and
get involved in the learning process! The benefits will be endless,
and the moments you share together will be priceless! As Dr. Seuss once said,
"The more that you read, the more things you will know.
The more that you learn, the more places you'll go!"

Wednesday, August 20, 2014

Thinking Theme: Dinosaurs

Lesson #1: Fossils
Objectives:
* To learn what a paleontologist is and what kind of work they do
* To explore in the sand and pretend to be a paleontologist
* To understand what a fossil is
* To create pretend fossils

Materials:
* cake pan or box
* sand
* paintbrushes and/or shovels
* toy dinosaurs
* playdough


Procedure:
1.  Explain to your child that a paleontologist is a scientist who studies dinosaurs and fossils.  They dig up bones and fossils and study them.  Explain that a fossil is an imprint of a plant or an animal, like a picture inside of a rock.  You can show them pictures of fossils so they can understand better.

2.  Pour some sand into a box or pan and bury some toy dinosaurs in it.  Allow your child to dig for the dinosaurs and use brushes to wipe away the dirt and study the bones just like a paleontologist.


3. Then help your child push the dinosaurs into the play dough to make an imprint of the dinosaur, just like a fossil.  Let them continue to explore and discover!


Lesson #2: Paper Plate Dinos from Imgur
Obejectives:
* To create a dinosaur using paper plates
* To recall the characteristics of the different dinosaurs
* To use the fine motor skills involved with cutting, stapling, and painting

Materials:
* 3-4 paper plates
* 3-4 paint colors
* paint brushes
* scissors
* stapler or glue


Procedure:
1. I found this activity on Pinterest from Imgur. I just looked at the picture and helped the kids make a dinosaur similar to those on the site. I used a stapler to put the pieces together to make sure it would not fall apart while the kids were painting.  Enjoy!


Lesson #3: Dinosaur Book
Obejectives:
* To create a book about different types of dinosaurs
* To record characteristics of each dinosaur
* To use the fine motor skills involved with cutting, gluing, coloring, and writing

Materials:
* construction paper
* crayons, markers, or colored pencils
* scissors
* glue
* stapler
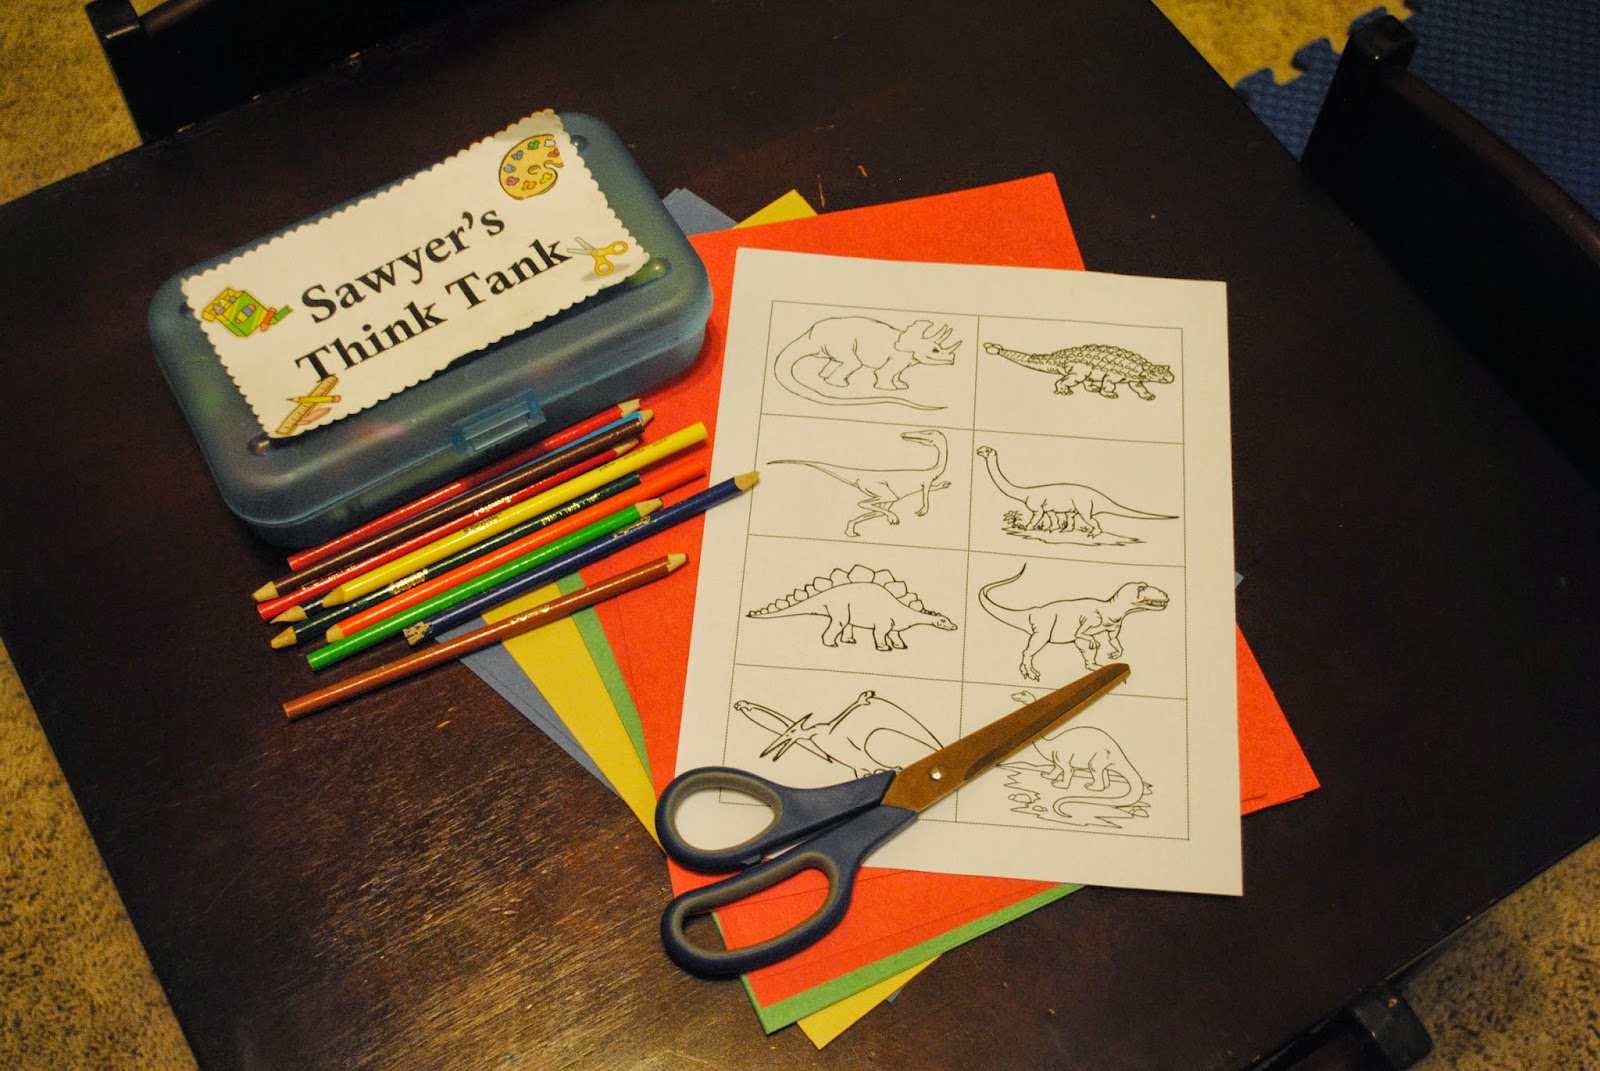
* Dinosaur Printable from Pre-Kinders


Procedure:
1. I found some great dinosaur pictures from Pre-Kinders, so I decided that the boys could make a dinosaur book with them.  Start by folding 4 pieces of construction paper together and stapling along the "spine" of the book like this.


2. Have your child write (or help them write) the title of their book on the front along with their name.


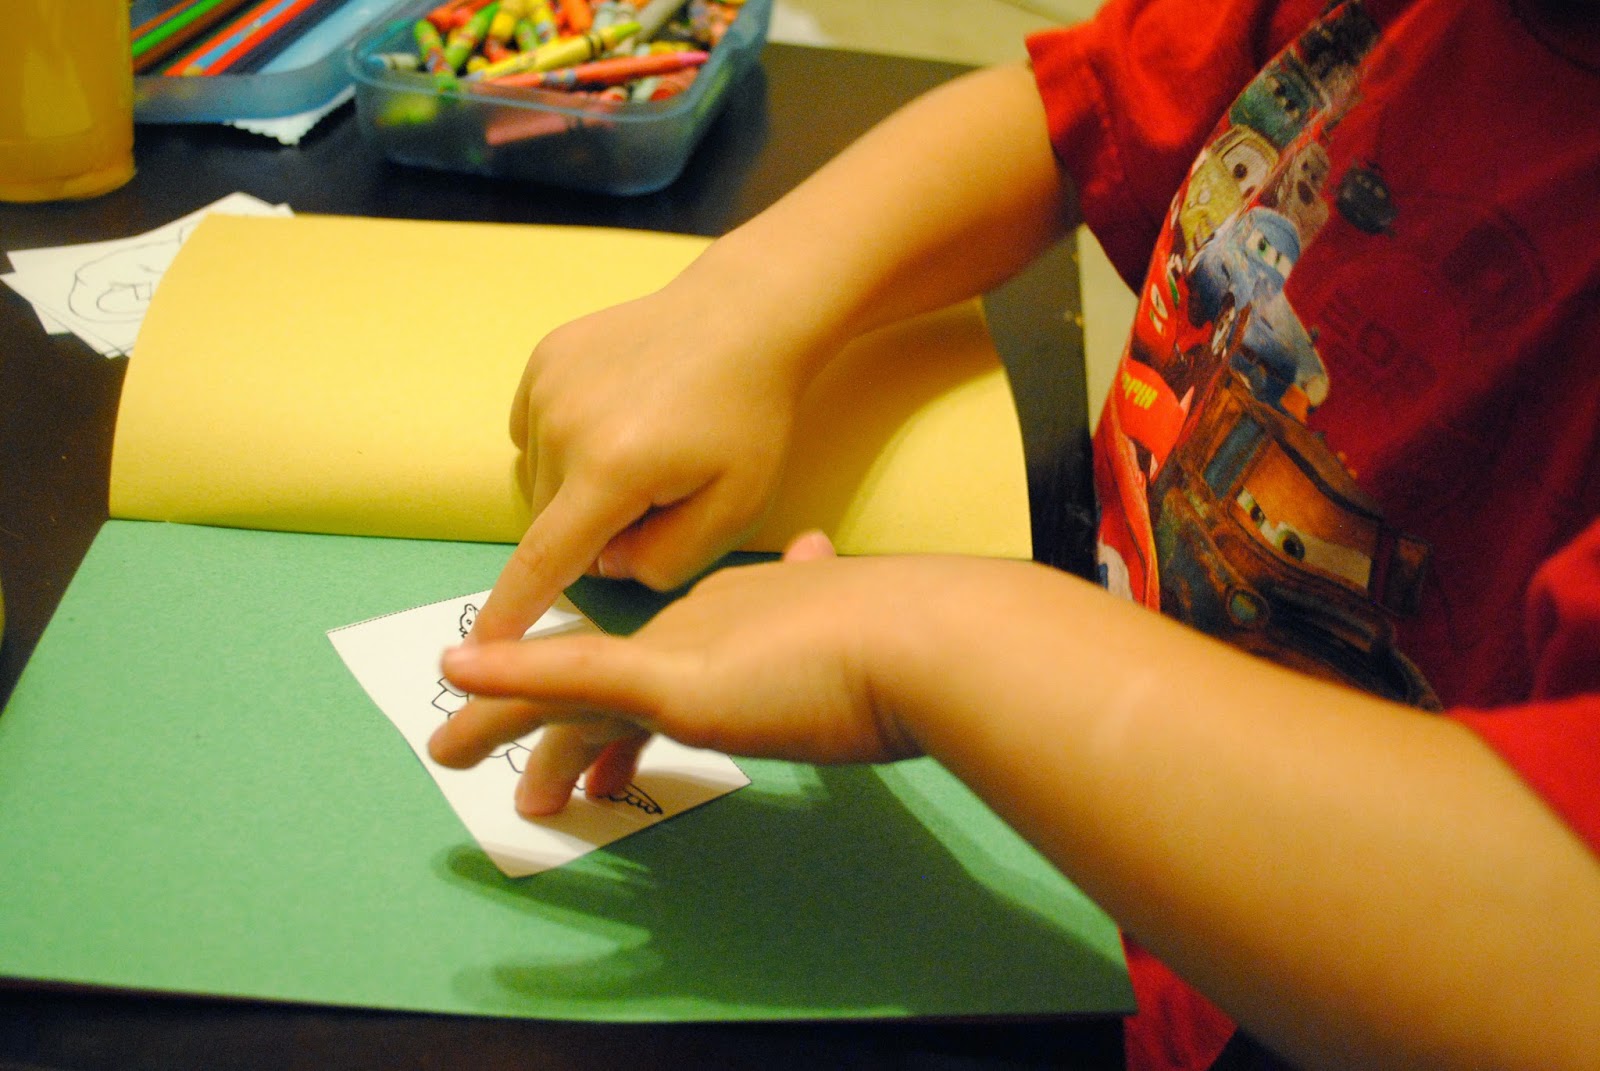
3.  Let them cut out the pictures of the dinosaurs and glue one to each page of the book.


4.  While the glue is drying, have your child write the names of each dinosaur on the pages.  (You can vary this step according to your child's level.  My 5 year old wrote the names of the dinosaurs as well as a special fact about each one.  My 3 year old said the name of each dinosaur and figured out the first letter that each one started with.  Then he did letter writing practice with just that letter.)


5.  Then let your kiddo color the dinosaurs, and you're finished!


Lesson #4: Dinosaur Bones
Obejectives:
* To understand that dinosaurs have bones that make a skeleton just like we do
* To create a picture of a dinosaur skeleton using Q-tips
* To use the fine motor skills involved with cutting and gluing

Materials:
* black and white construction paper
* Q-tips
* glue
* scissors
* black marker


Procedure:
1. This was another fun Pinterest find from Give Your Octopus a Paintbrush .  Have fun making these dinosaur skeletons!


Extra: Dinosaur Exhibit
* There was a dinosaur exhibit at our local children's museum, so a visit there was the perfect way to end this unit!  Find an exhibit near you!

Monday, April 7, 2014

We're Back!! Easter #2

Yes, it has been over a year since I last posted anything, but a lot has changed in our family!  We welcomed Chandler Joy into the world last August, and we just adore our sweet baby girl!  I have been adjusting to this new life with 3 kiddos, so I have been neglecting the blog.  I think I am finally ready to start doing lessons again!  Since Easter is around the corner, I think it's the perfect way to start back!  Join us as we go along!  (Check out our first Easter week of lessons here!)

Think #3 Chandler Joy


Lesson 1: Easter Printable Packs from 2 Teaching Mommies and Over the Big Moon
Objectives:
* To learn about the Easter holiday
* To identify an create patterns
* To count objects and choose the correct numeral matching the number of objects
* To sound out words and choose the correct letter that the word starts with
* To identify which object is different in a row of pictures
* To practice pre-writing skills
* To use the fine motor skills associated with writing, cutting, and gluing

Materials:
* Printables from 2 Teaching Mommies
* Printables from Over the Big Moon
* scissors
* glue
* crayons
* clothespins

Procedure:
* Print out whichever activities you would like your child to do from the links above.  We chose Which Is Different, What Comes Next, Pre-Writing, Easter Phonics Cards, and Counting Clip Cards.  Each lesson is very straightforward and easy to follow! Have Fun!


Lesson 2: Palm Leaf Craft
Objectives:
* To learn about Palm Sunday and it's importance in the Easter story
* To create a palm leaf using hand prints
* To learn the bible verse Matthew 21:9 "Hosanna! Hosanna! Blessed is He who comes in the name of the Lord."

Materials:
* Bible
* white and green construction paper
* green paint
* paintbrush
* paper plate


Procedure:
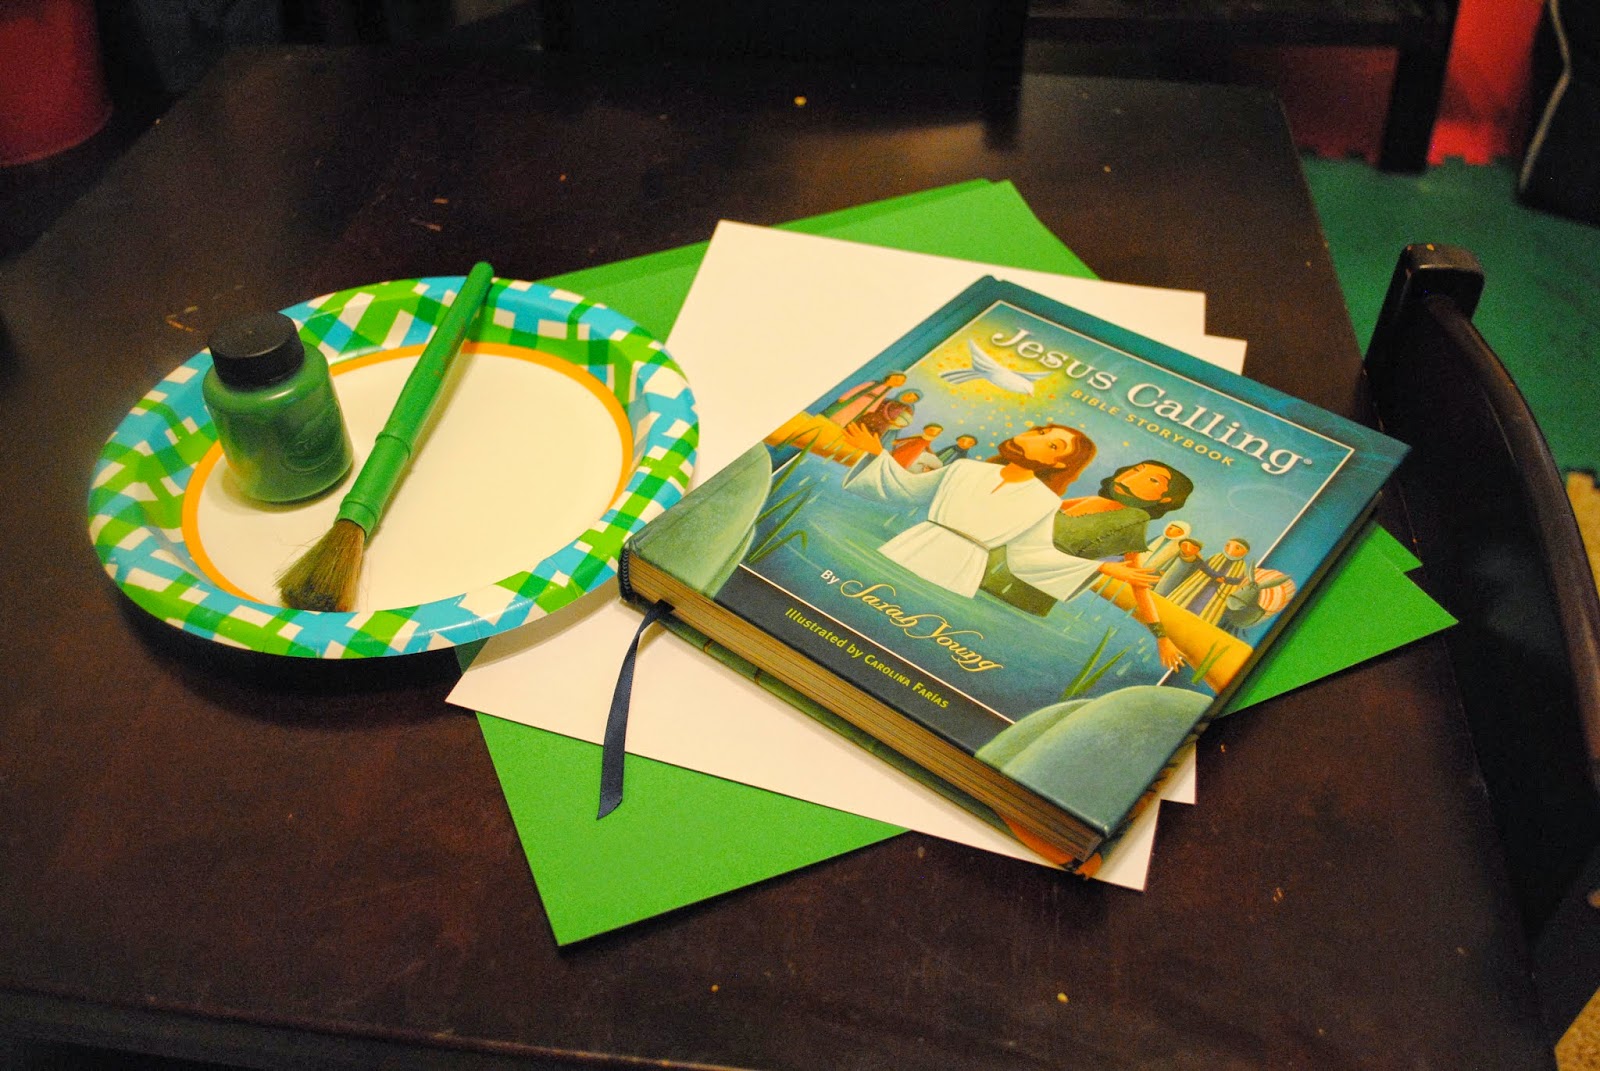
* Read the Palm Sunday story from the bible and talk about the events that happened.  Help your children memorize Matthew 21:9.


* Pour some green paint onto a paper plate. Help your child paint a green line on the white construction paper to represent the stem of the leaf.  Then let them dip their hands in the paint and create green hand prints along the stem.


* You can mount the white paper onto green paper to make the art stand out.  We added the verse to the top!


Lesson 3: Jelly Bean Graph
Objectives:
* To sort colors into groups
* To count the number of jellybeans in each color group
* To use graphing skills to record the number results
* To determine which color group has the most, least, etc.by reading the bar graph
* To use the fine motor skills involved with sorting and coloring

Materials:
* cup or bowl
* jellybeans (or any multi-colored candy)
* graph
* crayons


Procedure:
* Pour the jellybeans into a cup.  Have your child sort them by color.


* Let your child count the number of jellybeans in each group and record it on the graph by coloring in the squares up to the correct number.


* Once the graph is finished, ask your child to tell you which color had the most, least, or same amounts by looking at the bars on the graph.


* Enjoy eating the jellybeans, too!


Lesson 4: Resurrection Eggs
Objectives:
* To read the Easter story and learn what Christ did for us on the cross and through His resurrection
* To focus on specific symbols of the story
* To recall and retell what happened at Easter

Materials:
* We purchased our set of resurrection eggs at Hobby Lobby.  I know there are multiple sets out there or you can make your own using 12 plastic eggs and an egg carton.  You can print off pictures of the symbols or have your children draw them to place inside each egg.
* Bible


Procedure:
* Buy or create a set of resurrection eggs.  Each egg contains a symbol of the Easter story.  Here are the 12 symbols along with the verses to read with them:

1.   Donkey - Matthew 21:1-3, 6-8
2.   Silver Coins -Matthew 26:14-16
3.   Cup - Matthew 26: 27-28
4.   Praying Hands - Mark 14:32-34
5.   Leather Whip - John 19:1
6.   Crown of Thorns - Mathew 27:27-29
7.   Nails - John 19:16-18
8.   Dice - John 19:23-24
9.   Spear - John 19:32-34
10. Linen Cloth - Matthew 27:57-60
11. Stone - Matthew 28:2-4
12. Empty - Matthew 28:5-6

* Each day leading up to Easter, you and your children can read these verses and open each egg. Discuss the symbols and what each one means.  Have your kids retell the Easter story using the symbols.  What a great way to help them remember what happened to Christ during this time, give thanks to Him for His sacrifice, and celebrate that He is alive!!!


Lesson 5: Egg (Marble) Painting
Objectives:
* To create artwork using eggs
* To use the fine motor skills involved with cutting

Materials:
* white construction paper
* 3-4 colors of paint
* scissors
* cake pan or box
* 1-2 hard boiled eggs

Procedure:
(This is a fun, different take on marble painting using hard boiled eggs!)
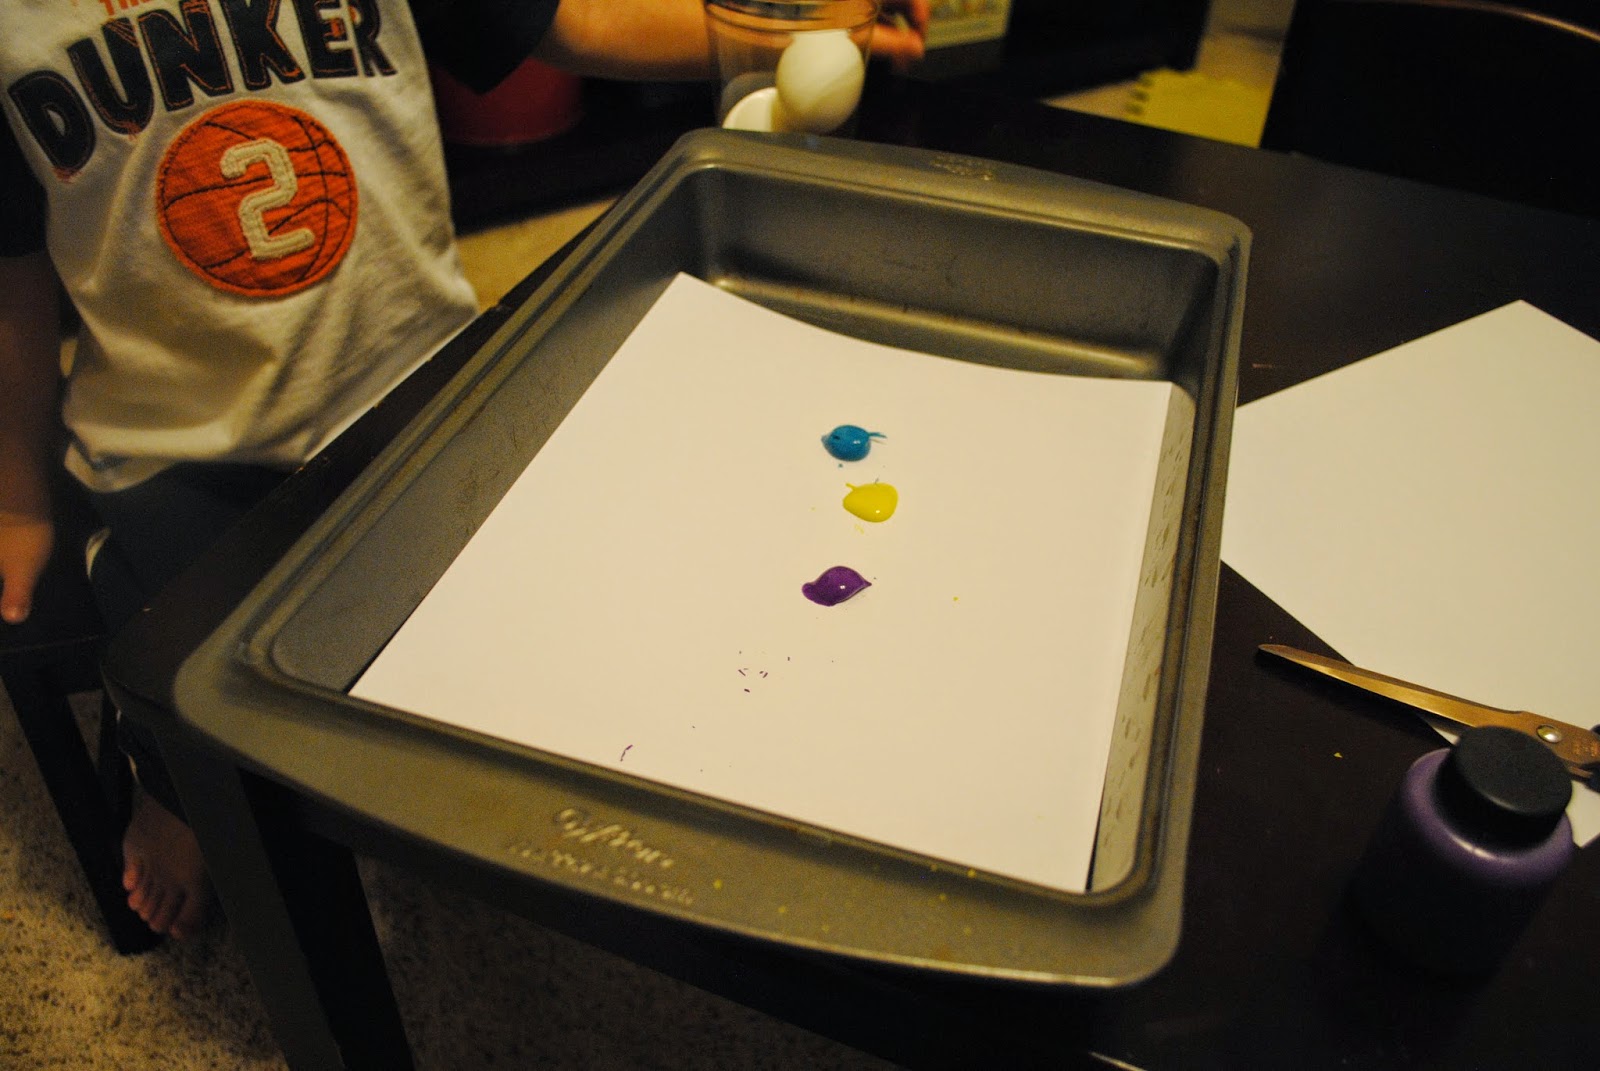
* Place a piece of white construction paper into a cake pan, box, or something similar in shape.


* Put a few drops of paint on the paper. (whatever colors your child wants)


* Place a hard boiled egg into the paint, and let your child roll it around to cover the paper.


* Once the paper dries, let your kiddo cut out a fun Easter shape!  I love the way these turned out!