Objectives:
* To learn what a paleontologist is and what kind of work they do
* To explore in the sand and pretend to be a paleontologist
* To understand what a fossil is
* To create pretend fossils
Materials:
* cake pan or box
* sand
* paintbrushes and/or shovels
* toy dinosaurs
* playdough
Procedure:
1. Explain to your child that a paleontologist is a scientist who studies dinosaurs and fossils. They dig up bones and fossils and study them. Explain that a fossil is an imprint of a plant or an animal, like a picture inside of a rock. You can show them pictures of fossils so they can understand better.
2. Pour some sand into a box or pan and bury some toy dinosaurs in it. Allow your child to dig for the dinosaurs and use brushes to wipe away the dirt and study the bones just like a paleontologist.
3. Then help your child push the dinosaurs into the play dough to make an imprint of the dinosaur, just like a fossil. Let them continue to explore and discover!
Lesson #2: Paper Plate Dinos from Imgur
Obejectives:
* To create a dinosaur using paper plates
* To recall the characteristics of the different dinosaurs
* To use the fine motor skills involved with cutting, stapling, and painting
Materials:
* 3-4 paper plates
* 3-4 paint colors
* paint brushes
* scissors
* stapler or glue
Procedure:
1. I found this activity on Pinterest from Imgur. I just looked at the picture and helped the kids make a dinosaur similar to those on the site. I used a stapler to put the pieces together to make sure it would not fall apart while the kids were painting. Enjoy!
Lesson #3: Dinosaur Book
Obejectives:
* To create a book about different types of dinosaurs
* To record characteristics of each dinosaur
* To use the fine motor skills involved with cutting, gluing, coloring, and writing
Materials:
* construction paper
* crayons, markers, or colored pencils
* scissors
* glue
* stapler
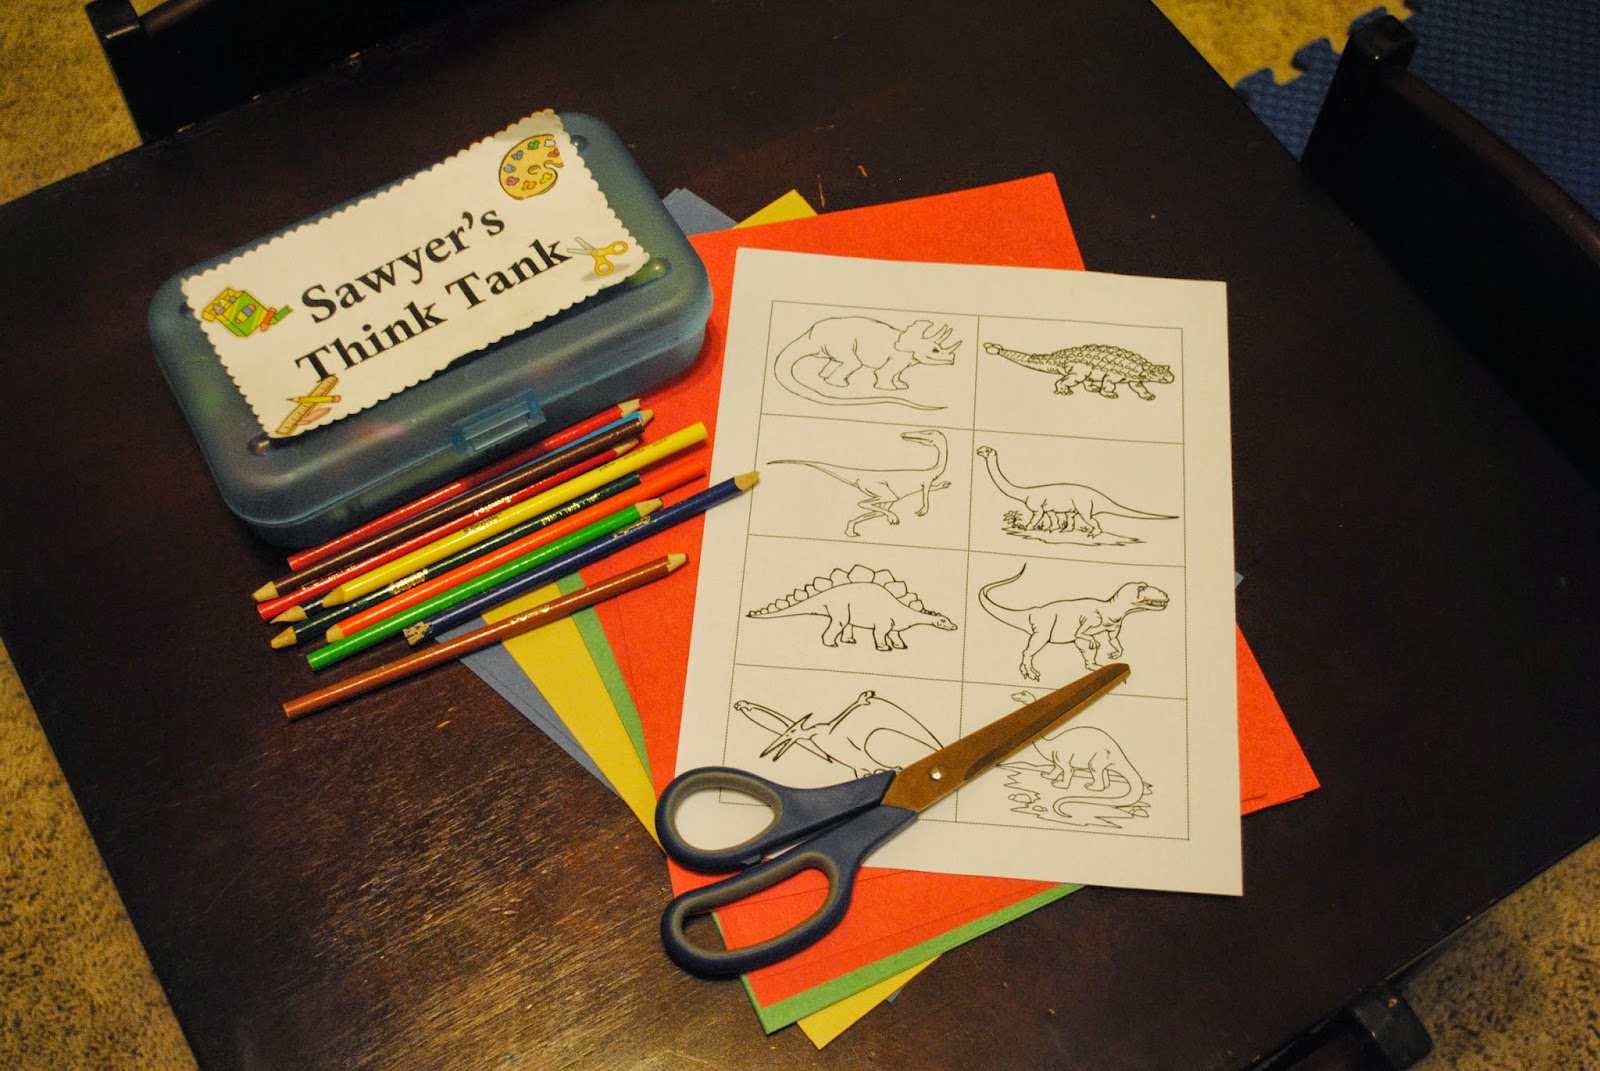
* Dinosaur Printable from Pre-Kinders
Procedure:
1. I found some great dinosaur pictures from Pre-Kinders, so I decided that the boys could make a dinosaur book with them. Start by folding 4 pieces of construction paper together and stapling along the "spine" of the book like this.
2. Have your child write (or help them write) the title of their book on the front along with their name.
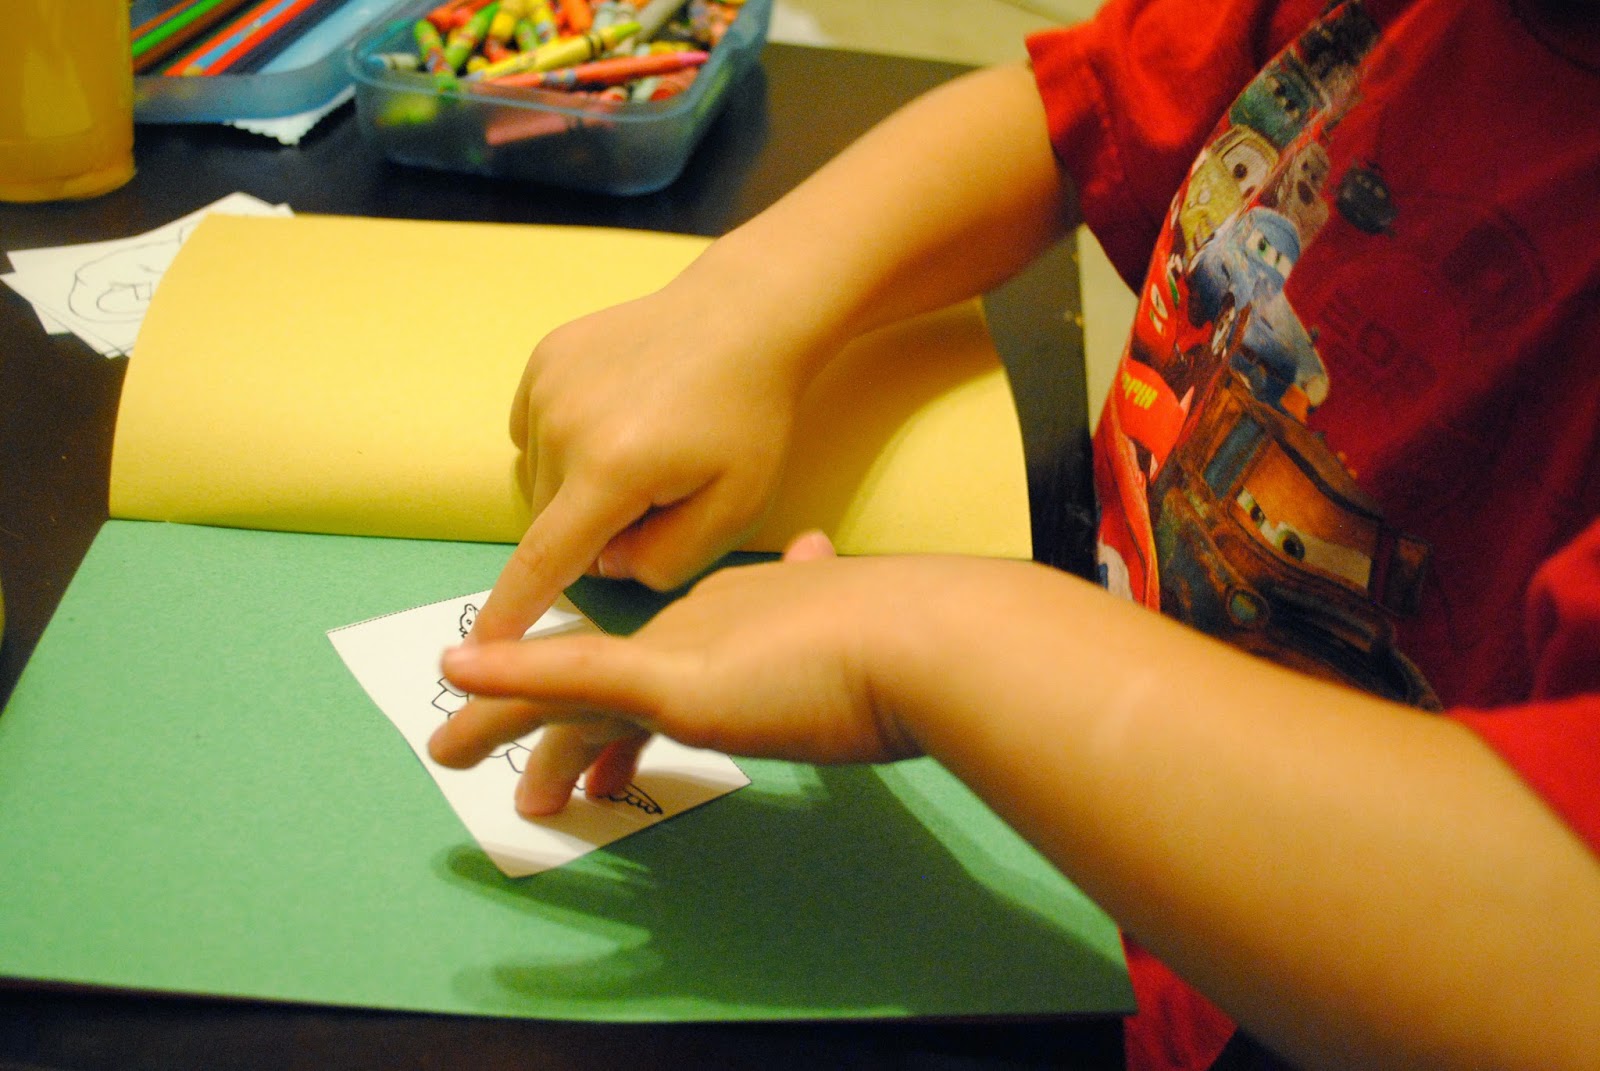
3. Let them cut out the pictures of the dinosaurs and glue one to each page of the book.
4. While the glue is drying, have your child write the names of each dinosaur on the pages. (You can vary this step according to your child's level. My 5 year old wrote the names of the dinosaurs as well as a special fact about each one. My 3 year old said the name of each dinosaur and figured out the first letter that each one started with. Then he did letter writing practice with just that letter.)
5. Then let your kiddo color the dinosaurs, and you're finished!
Lesson #4: Dinosaur Bones
Obejectives:
* To understand that dinosaurs have bones that make a skeleton just like we do
* To create a picture of a dinosaur skeleton using Q-tips
* To use the fine motor skills involved with cutting and gluing
Materials:
* black and white construction paper
* Q-tips
* glue
* scissors
* black marker
Procedure:
1. This was another fun Pinterest find from Give Your Octopus a Paintbrush . Have fun making these dinosaur skeletons!
Extra: Dinosaur Exhibit
* There was a dinosaur exhibit at our local children's museum, so a visit there was the perfect way to end this unit! Find an exhibit near you!


No comments:
Post a Comment