
 |
| Think #3 Chandler Joy |
Lesson 1: Easter Printable Packs from 2 Teaching Mommies and Over the Big Moon
Objectives:
* To learn about the Easter holiday
* To identify an create patterns
* To count objects and choose the correct numeral matching the number of objects
* To sound out words and choose the correct letter that the word starts with
* To identify which object is different in a row of pictures
* To practice pre-writing skills
* To use the fine motor skills associated with writing, cutting, and gluing
Materials:
* Printables from 2 Teaching Mommies
* Printables from Over the Big Moon
* scissors
* glue
* crayons
* clothespins
Procedure:
* Print out whichever activities you would like your child to do from the links above. We chose Which Is Different, What Comes Next, Pre-Writing, Easter Phonics Cards, and Counting Clip Cards. Each lesson is very straightforward and easy to follow! Have Fun!


Lesson 2: Palm Leaf Craft
Objectives:
* To learn about Palm Sunday and it's importance in the Easter story
* To create a palm leaf using hand prints
* To learn the bible verse Matthew 21:9 "Hosanna! Hosanna! Blessed is He who comes in the name of the Lord."
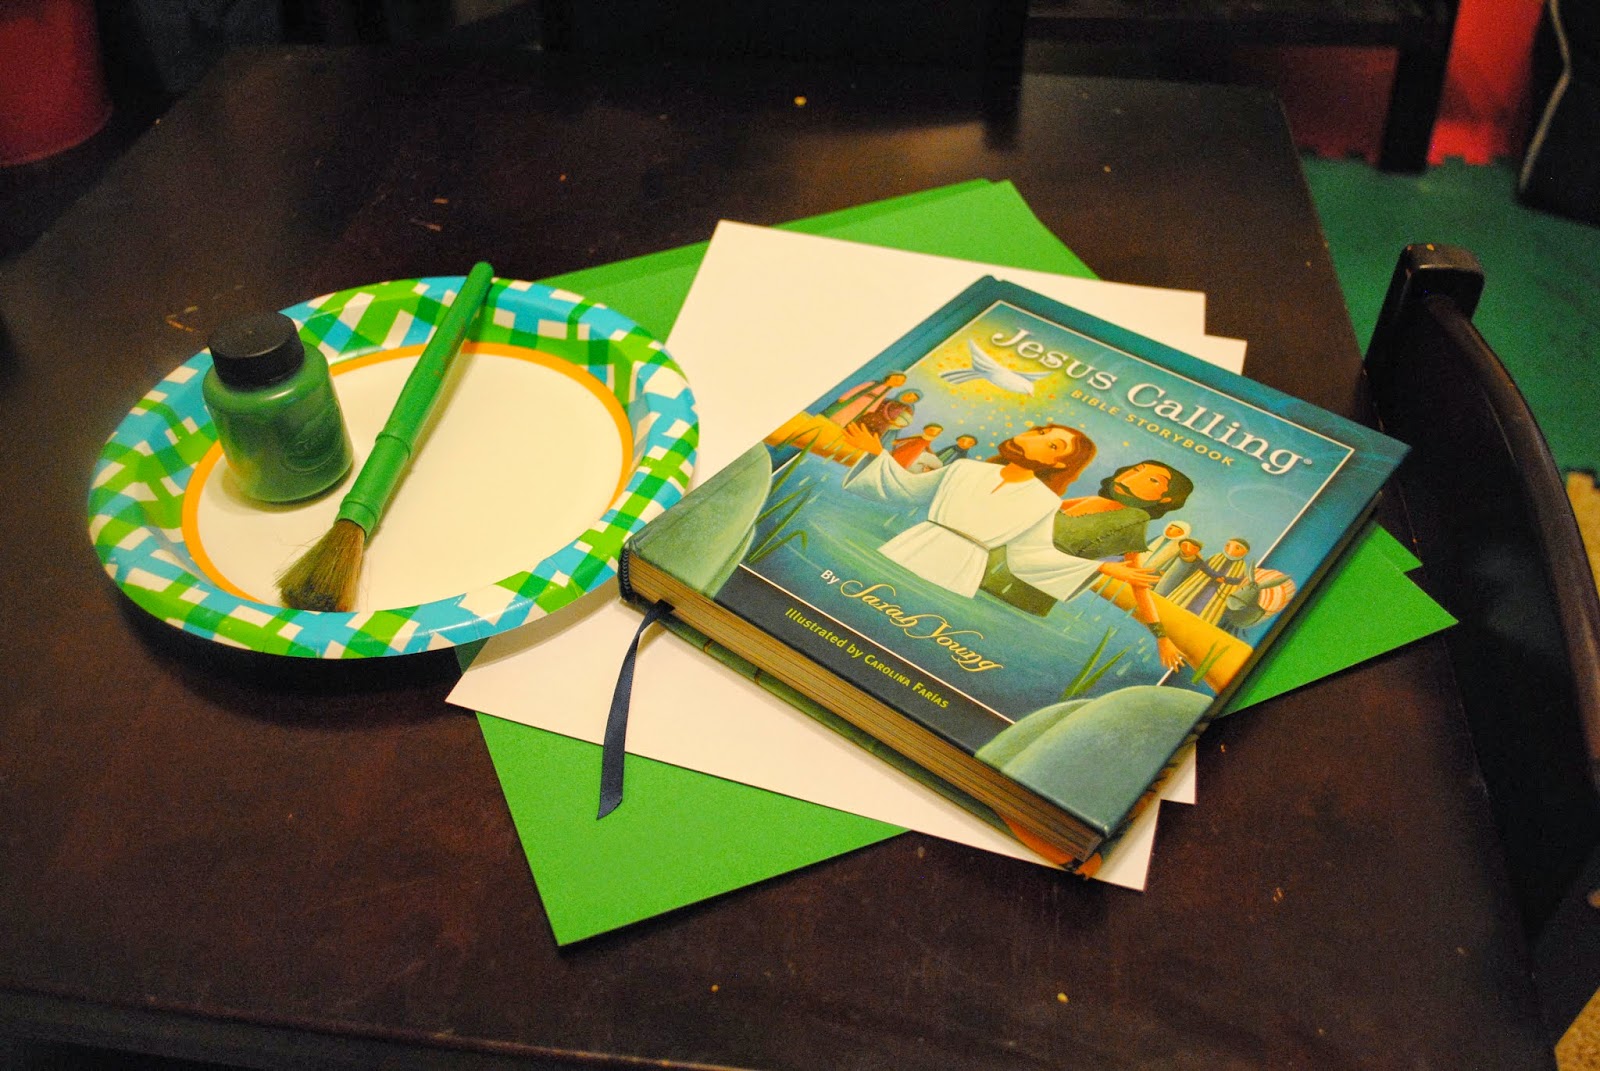
Materials:
* Bible
* white and green construction paper
* green paint
* paintbrush
* paper plate
Procedure:
* Read the Palm Sunday story from the bible and talk about the events that happened. Help your children memorize Matthew 21:9.

* Pour some green paint onto a paper plate. Help your child paint a green line on the white construction paper to represent the stem of the leaf. Then let them dip their hands in the paint and create green hand prints along the stem.


* You can mount the white paper onto green paper to make the art stand out. We added the verse to the top!

Lesson 3: Jelly Bean Graph
Objectives:
* To sort colors into groups
* To count the number of jellybeans in each color group
* To use graphing skills to record the number results
* To determine which color group has the most, least, etc.by reading the bar graph
* To use the fine motor skills involved with sorting and coloring
Materials:
* cup or bowl
* jellybeans (or any multi-colored candy)
* graph
* crayons


Procedure:
* Pour the jellybeans into a cup. Have your child sort them by color.

* Let your child count the number of jellybeans in each group and record it on the graph by coloring in the squares up to the correct number.


* Once the graph is finished, ask your child to tell you which color had the most, least, or same amounts by looking at the bars on the graph.

* Enjoy eating the jellybeans, too!

Lesson 4: Resurrection Eggs
Objectives:
* To read the Easter story and learn what Christ did for us on the cross and through His resurrection
* To focus on specific symbols of the story
* To recall and retell what happened at Easter
Materials:
* We purchased our set of resurrection eggs at Hobby Lobby. I know there are multiple sets out there or you can make your own using 12 plastic eggs and an egg carton. You can print off pictures of the symbols or have your children draw them to place inside each egg.
* Bible

Procedure:
* Buy or create a set of resurrection eggs. Each egg contains a symbol of the Easter story. Here are the 12 symbols along with the verses to read with them:
1. Donkey - Matthew 21:1-3, 6-8
2. Silver Coins -Matthew 26:14-16
3. Cup - Matthew 26: 27-28
4. Praying Hands - Mark 14:32-34
5. Leather Whip - John 19:1
6. Crown of Thorns - Mathew 27:27-29
7. Nails - John 19:16-18
8. Dice - John 19:23-24
9. Spear - John 19:32-34
10. Linen Cloth - Matthew 27:57-60
11. Stone - Matthew 28:2-4
12. Empty - Matthew 28:5-6
* Each day leading up to Easter, you and your children can read these verses and open each egg. Discuss the symbols and what each one means. Have your kids retell the Easter story using the symbols. What a great way to help them remember what happened to Christ during this time, give thanks to Him for His sacrifice, and celebrate that He is alive!!!


Lesson 5: Egg (Marble) Painting
Objectives:
* To create artwork using eggs
* To use the fine motor skills involved with cutting
Materials:
* white construction paper
* 3-4 colors of paint
* scissors
* cake pan or box
* 1-2 hard boiled eggs
Procedure:
(This is a fun, different take on marble painting using hard boiled eggs!)
* Place a piece of white construction paper into a cake pan, box, or something similar in shape.

* Put a few drops of paint on the paper. (whatever colors your child wants)
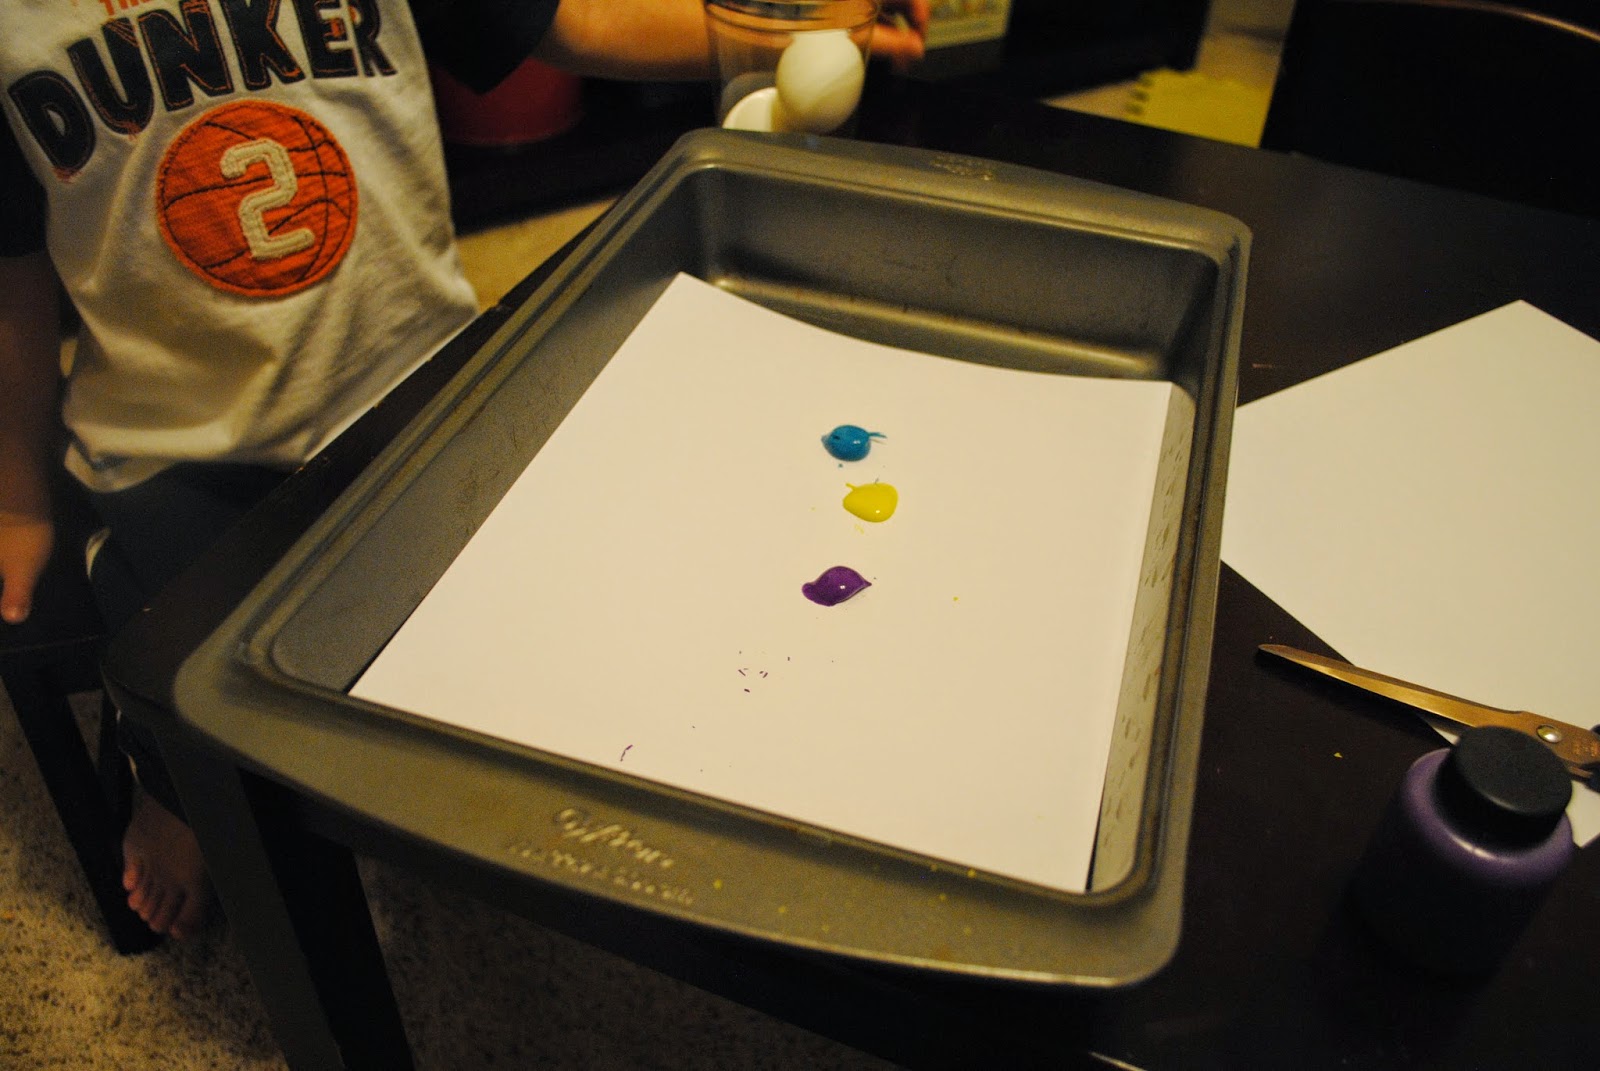
* Place a hard boiled egg into the paint, and let your child roll it around to cover the paper.


* Once the paper dries, let your kiddo cut out a fun Easter shape! I love the way these turned out!


* To learn about the Easter holiday
* To identify an create patterns
* To count objects and choose the correct numeral matching the number of objects
* To sound out words and choose the correct letter that the word starts with
* To identify which object is different in a row of pictures
* To practice pre-writing skills
* To use the fine motor skills associated with writing, cutting, and gluing
Materials:
* Printables from 2 Teaching Mommies
* Printables from Over the Big Moon
* scissors
* glue
* crayons
* clothespins
Procedure:
* Print out whichever activities you would like your child to do from the links above. We chose Which Is Different, What Comes Next, Pre-Writing, Easter Phonics Cards, and Counting Clip Cards. Each lesson is very straightforward and easy to follow! Have Fun!
Lesson 2: Palm Leaf Craft
Objectives:
* To learn about Palm Sunday and it's importance in the Easter story
* To create a palm leaf using hand prints
* To learn the bible verse Matthew 21:9 "Hosanna! Hosanna! Blessed is He who comes in the name of the Lord."
Materials:
* Bible
* white and green construction paper
* green paint
* paintbrush
* paper plate
Procedure:
* Read the Palm Sunday story from the bible and talk about the events that happened. Help your children memorize Matthew 21:9.
* Pour some green paint onto a paper plate. Help your child paint a green line on the white construction paper to represent the stem of the leaf. Then let them dip their hands in the paint and create green hand prints along the stem.
* You can mount the white paper onto green paper to make the art stand out. We added the verse to the top!
Lesson 3: Jelly Bean Graph
Objectives:
* To sort colors into groups
* To count the number of jellybeans in each color group
* To use graphing skills to record the number results
* To determine which color group has the most, least, etc.by reading the bar graph
* To use the fine motor skills involved with sorting and coloring
Materials:
* cup or bowl
* jellybeans (or any multi-colored candy)
* graph
* crayons
Procedure:
* Pour the jellybeans into a cup. Have your child sort them by color.
* Let your child count the number of jellybeans in each group and record it on the graph by coloring in the squares up to the correct number.
* Once the graph is finished, ask your child to tell you which color had the most, least, or same amounts by looking at the bars on the graph.
* Enjoy eating the jellybeans, too!
Lesson 4: Resurrection Eggs
Objectives:
* To read the Easter story and learn what Christ did for us on the cross and through His resurrection
* To focus on specific symbols of the story
* To recall and retell what happened at Easter
Materials:
* We purchased our set of resurrection eggs at Hobby Lobby. I know there are multiple sets out there or you can make your own using 12 plastic eggs and an egg carton. You can print off pictures of the symbols or have your children draw them to place inside each egg.
* Bible
Procedure:
* Buy or create a set of resurrection eggs. Each egg contains a symbol of the Easter story. Here are the 12 symbols along with the verses to read with them:
1. Donkey - Matthew 21:1-3, 6-8
2. Silver Coins -Matthew 26:14-16
3. Cup - Matthew 26: 27-28
4. Praying Hands - Mark 14:32-34
5. Leather Whip - John 19:1
6. Crown of Thorns - Mathew 27:27-29
7. Nails - John 19:16-18
8. Dice - John 19:23-24
9. Spear - John 19:32-34
10. Linen Cloth - Matthew 27:57-60
11. Stone - Matthew 28:2-4
12. Empty - Matthew 28:5-6
* Each day leading up to Easter, you and your children can read these verses and open each egg. Discuss the symbols and what each one means. Have your kids retell the Easter story using the symbols. What a great way to help them remember what happened to Christ during this time, give thanks to Him for His sacrifice, and celebrate that He is alive!!!
Lesson 5: Egg (Marble) Painting
Objectives:
* To create artwork using eggs
* To use the fine motor skills involved with cutting
Materials:
* white construction paper
* 3-4 colors of paint
* scissors
* cake pan or box
* 1-2 hard boiled eggs
Procedure:
(This is a fun, different take on marble painting using hard boiled eggs!)
* Place a piece of white construction paper into a cake pan, box, or something similar in shape.
* Put a few drops of paint on the paper. (whatever colors your child wants)
* Place a hard boiled egg into the paint, and let your child roll it around to cover the paper.
* Once the paper dries, let your kiddo cut out a fun Easter shape! I love the way these turned out!

No comments:
Post a Comment