
* To learn what a chemical reaction is
* To watch what happens when baking soda and vinegar are mixed together
* To understand that when mixed together, these ingredients create carbon dioxide
* To see this chemical reaction blow up a balloon
* To use prediction skills
* To use the fine motor skills involved with pouring
Materials:
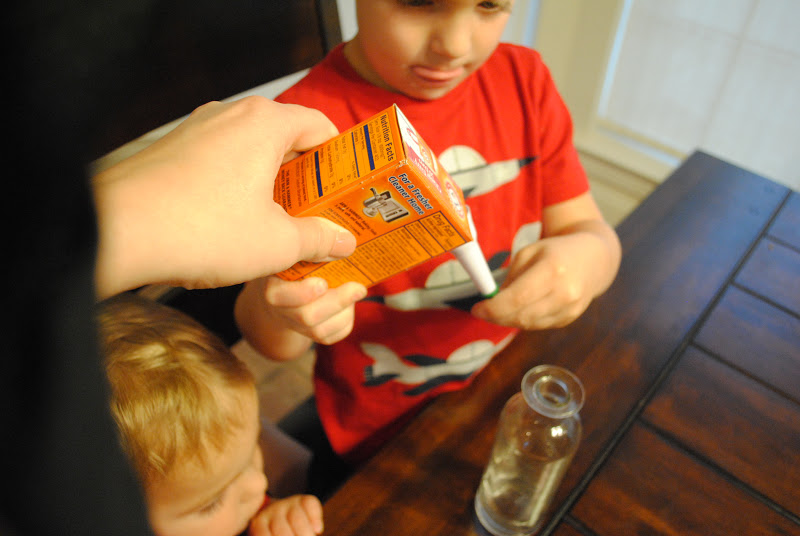
* Baking Soda
* Vinegar
* Bottle/Jar with a small top
* Funnel (I used a small icing tip)
* Balloons

Procedure:
* Talk about what a chemical reaction is. Ask your child to predict what will happen when the baking soda and vinegar are mixed together. Ask them if they think the reaction will blow the balloon up or if it will stay down.
* Pour about an inch of vinegar into the bottle.

* Using the funnel, pour about a tablespoon of baking soda into the balloon.
* Carefully place the balloon over the mouth of the bottle.

* Lift the balloon up so that the baking soda will fall into the vinegar. Watch the bubbles form at the bottom of the bottle.

* Super Cool!!! Talk about the chemical reaction and how the baking soda and vinegar mixed together to create carbon dioxide. This created the air to blow the balloon up.

 |
| Of course, we had to do it again! :) |


